
Dinosaur Birthday Card + Download

Looking for a fun DIY dinosaur birthday card that's sure to impress? This adorable handmade dinosaur birthday card is perfect for kids, but it's easy to customize for dinosaur-loving teens and adults too! In this step-by-step tutorial, I'll show you how to create this playful card using a simple Z-fold design that's easy to make and fun to display.

The Z-fold base gives this card a fun interactive twist. When displayed, the dinosaur appears to stand upright, creating a charming 3D effect that makes the card feel extra special. I love giving these cards at birthday parties because they always get smiles and compliments. Whether you're creating a handmade birthday card for someone special or simply looking for a fun new papercrafting project, this dinosaur card is sure to be a favorite.
If you'd like to recreate this card with your Cricut, Silhouette, or other electronic cutting machine, you can purchase the SVG and PDF files in my shop. Prefer to skip the cutting? I also offer pre-cut and assembled dinosaur die cuts. They work beautifully for dinosaur birthday party decorations, cake table displays, scrapbook layouts, and other dinosaur-themed crafts.
Thank you so much for visiting my blog and supporting my small business. I hope you enjoy making this cute dinosaur birthday card as much as I enjoyed designing it!
Setup:


I purchased individual sheets of patterned paper at Hobby Lobby for this project. Alternatively, a coordinating collection of paper like this would make a ton of cute cards!

You can create your own dinosaur die cuts using your Cricut, Silhouette, or other electronic cutting machine, or save time by purchasing the pre-made die cuts from my shop.
If you're making your own die cuts, I recommend leaving the area beneath the dinosaur's left arm unglued. This allows you to tuck the balloon's twine underneath so it looks like the dinosaur is holding the balloon. If you purchase the pre-made die cuts from my shop, I have already left the arm unglued.
Attach the Background Pieces:
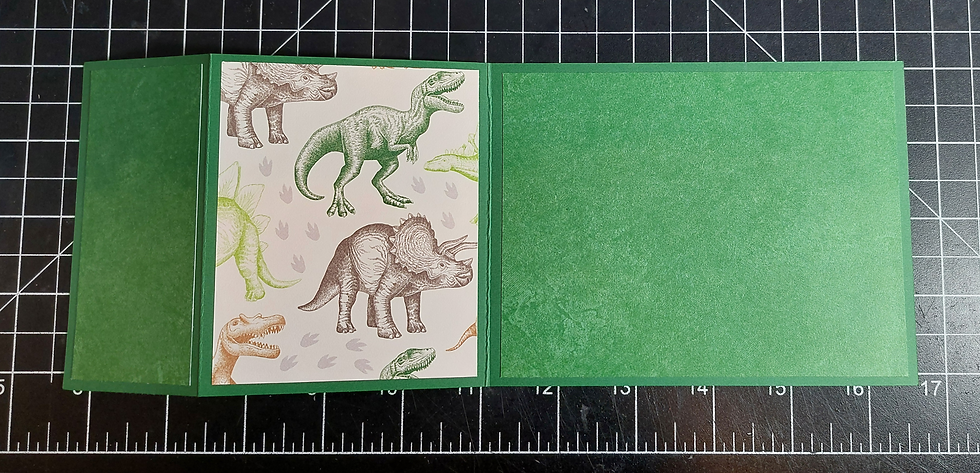
I use a permanent adhesive tape runner to make this step quick and easy. I especially love the Tombow brand because the dispenser is comfortable to use, and the adhesive holds my projects together securely. It's my go-to choice for cardmaking and papercraft projects.
Add the Text:

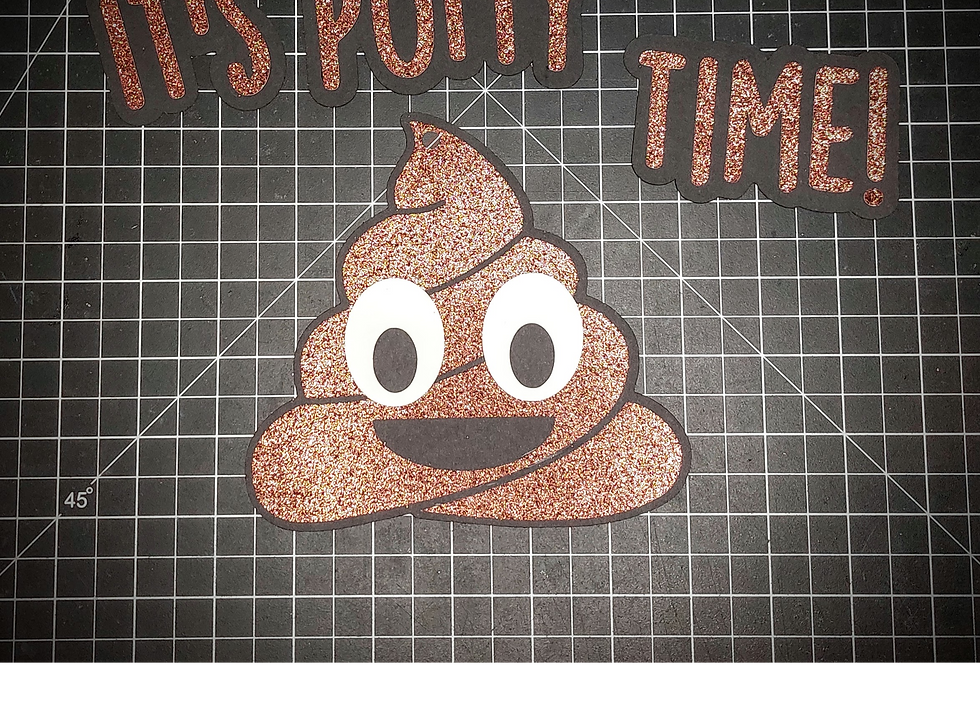
When I’m making cards and don’t have a rubber stamp with the perfect sentiment, I use my digital die cutter and adhesive vinyl instead. This allows me to personalize my cards for any occasion with the font, color, and layout that best fits my project.
The key to using adhesive vinyl on papercrafting projects is making sure your transfer tape isn’t too sticky before picking up and transferring your design. If the transfer tape has too much adhesive strength, it can pull up or tear your cardstock and ruin your project.
For this reason, I like to reuse my transfer tape a few times. With each use, it picks up small fibers and naturally becomes less sticky, making it gentler on delicate cardstock. If I’m using a fresh piece of transfer tape straight from the roll, I cut a section large enough to cover my vinyl design and then lightly press it onto my shirt a couple of times before picking up the vinyl and applying it to my project. This helps reduce the stickiness and makes the transfer process much safer for your card.
Attach the White Cardstock:

You have a couple options for finishing the inside of your card. If you plan to write a longer message, you can attach two pieces of 3" x 3.75" white cardstock to the inside panels. For the top card, I loved the look of the dinosaur patterned paper so I chose to leave one panel open and only added a single piece of white cardstock for my message.
Another fun option is to use Scor-Tape to create a small pocket inside the card. This turns your dinosaur card into a gift card holder, making it an extra special way to give a birthday surprise!
Attach the Dinosaur and Balloon:

Apply glue to the back portion of the dinosaur that will overlap the top flap. I like to position mine so his face is close to the edge of the patterned cardstock background.
Next, glue the end of the twine to the back of the balloon. You may need to trim the twine fibers slightly to reduce bulk and help it adhere more securely. Once the twine is attached, glue the balloon to the top flap.
A toothpick and a good quality adhesive will help adhere the twine to your card. To keep the glue from oozing around the edges, apply only the tiniest bit of glue in a few different spots along the back of the twine.

And that's all there is to it! Thanks so much for supporting my blog. I'd love to see what you create in the comments below. JJ❀
Supplies:
Dinosaur Card Design File, includes text, balloon and dinosaur
15mm Wiggly Eyes (other sizes will work too!)
This post contains affiliate links. As an Amazon Associate I earn from qualifying purchases at no additional cost to you.


Comments