
Seed Pocket Card
- Jacki Joy
- Apr 14
- 2 min read

Spring is in the air, and what better way to celebrate than with a handmade card that literally grows with love? 🌸
In this tutorial, you’ll learn how to create a cheerful spring greeting card featuring a pretty floral design and a pocket on the inside — perfect for tucking in a packet of flower seeds. Whether you’re making it for Mother’s Day, May Day, or just to brighten someone’s day, this card is sure to plant a smile (and maybe a garden!).
Let’s gather our supplies and make something beautiful!

You will need:
One A2 (4.25" x 5.5") card base
Two 4" x 5.25 pieces of white cardstock (one to use as a design base and one for the inside.
Assorted coordinating strips of 1" x 6" patterned paper
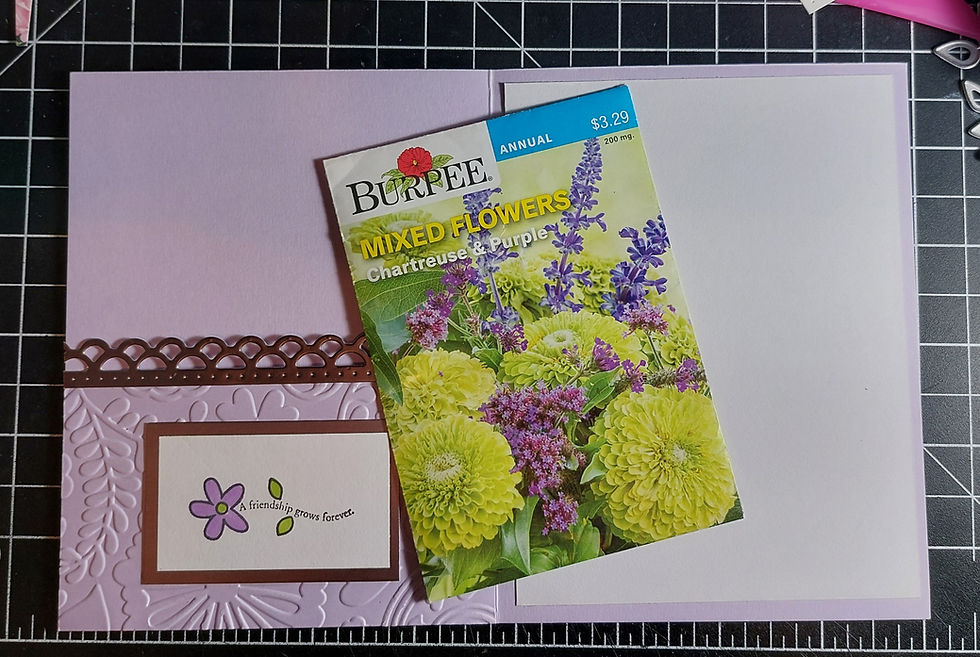
One 2.5" x 4.25" piece of matching cardstock for the pocket
A seed packet
Create the strip pattern:
I'm using Carta Bella's "Botanical Garden" paper pad for this project. I've had this one awhile and they don't seem to make this exact pad anymore, but this or this would work great instead!
Select a few sheets of the coordinating patterns and cut them into 1" x 6" strips. Then cut your strips diagonally.


Take one of the 4" x 5.25" pieces of cardstock and start attaching your strips. A good quality glue, double sided tape or adhesive sheets work well for this step.


After you finish your design, flip it over and cut off the overhang.
I used double-sided tape to attach the design onto the card base.
Create the pocket:

I embossed the 2.5" x 4.25" piece of cardstock and added a lace border.
I like to use Scor-Tape when I attach pockets because it is easy to pull into a straight line and tear with your fingers. Get it as close to the edges as possible.

Decorate:


Thanks for checking out my tutorial. I'd love to see what you create in the comments below! JJ❀
Supplies:
The lace border I used is similar to these.
This post contains affiliate links. As an Amazon Associate I earn from qualifying purchases at no additional cost to you.


Comments